
Last Updated on March 9, 2024
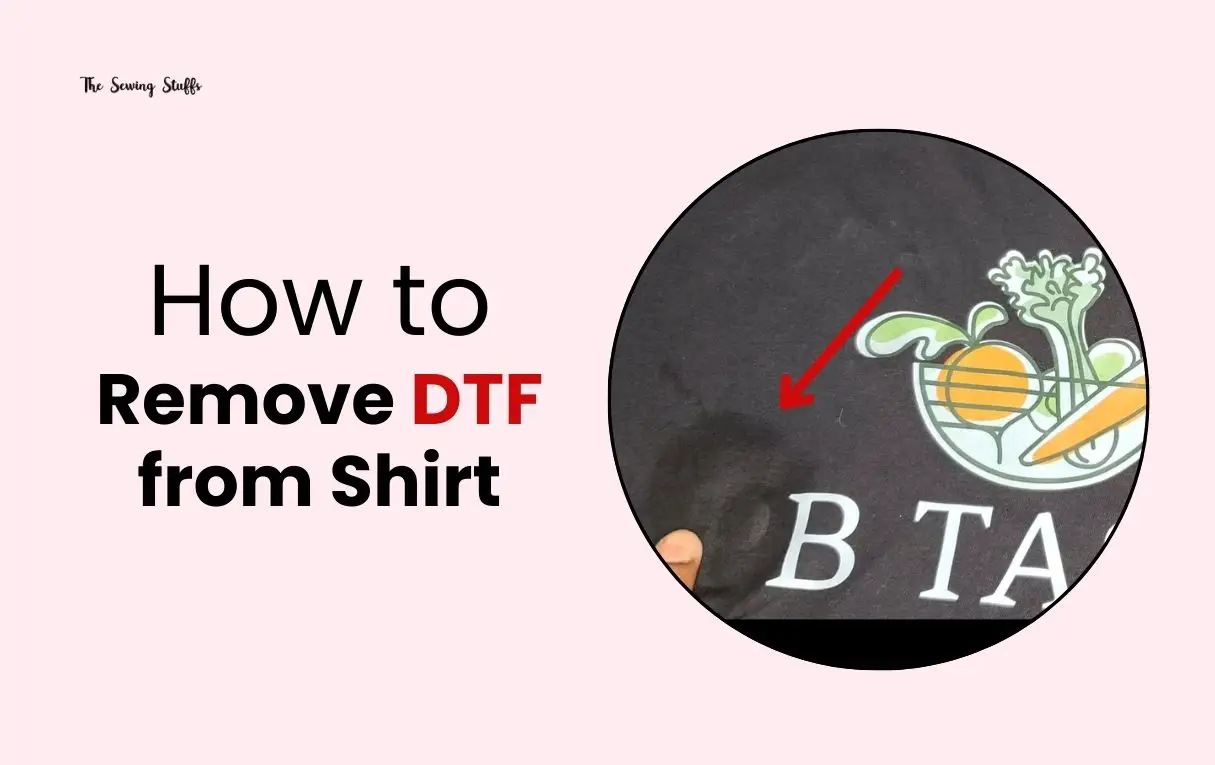
Mistakes can happen whether you’re a seasoned professional or a beginner in the world of custom printing. If you’ve ever wondered what to do if you make a mistake on a Direct-to-Film (DTF) shirt, fear not!
Highlights:
- Errors can occur in custom printing but don’t panic. Effective solutions exist to correct DTF mistakes without discarding the entire shirt.
- Use a reliable DTF-removing solution like VLR Alba Cam for successful removal.
- Apply heat with a press or iron after the solution to ensure a clean finish.
- Be cautious; the solution may have a strong scent and should be used in a well-ventilated space.
- While effective on 100% cotton shirts, test the process cautiously on different materials, noting potential risks.
Additional Resources:
How long does a DTF print last on a shirt?
A DTF print on a shirt can generally last between 50 to 100 washes with regular use and standard washing and drying. To extend the lifespan of the transfer, it’s advisable to turn the shirt inside out before washing and avoid using bleach.
How to Remove DTF from Shirt?
To remove DTF (Direct to Film) from a shirt, use a solution like VLR Alba Cam, applying it directly over the design, letting it sit, wiping off the design, addressing any residue, and finally pressing the shirt for a clean finish. Ensure proper ventilation when using the solution and be cautious with different fabric types.

Here, we’ll guide you through the process of effectively removing DTF from your shirt without having to discard it.
Materials Needed
Before we dive into the process, gather the following materials:
- DTF-removing solution (like VLR Alba Cam)
- Cotton shirt (preferably 100% cotton)
- Clean cloth or rag
- Heat press or iron
Recommendation
We recommend using a solution called VLR Alba Cam. It’s essential to note that other products might be available in the market, so it’s worth exploring alternatives if this specific solution isn’t readily accessible. The effectiveness of the removal process largely depends on the fabric, with 100% cotton shirts being the most suitable.
Step 1: Assess the Damage
.jpg)
Begin by evaluating the mistake on your DTF shirt. Whether it’s a small error in the lettering or a larger design, the process can be applied effectively to various sizes.
Step 2: Apply the Solution
.jpg)
Apply the DTF-removing solution over the mistake. The article suggests applying it directly over the design instead of starting from underneath the fabric. Ensure thorough coverage, especially over the entire mistake.
Step 3: Let It Sit
Allow the solution to sit on the fabric for a minute. This gives it time to penetrate and loosen the DTF ink.
Step 4: Rub It Off
.jpg)
After letting it sit, stretch the fabric and gently rub off the DTF ink using a clean cloth or rag. You might notice some residue, but don’t worry; this is normal.
Step 5: Repeat if Necessary
.jpg)
You may need to repeat the process for larger designs or areas with more ink. Apply the solution again and rub off any remaining DTF ink.
Step 6: Heat Press or Iron
Once you’re satisfied with the removal, apply heat to the area with a heat press or iron. This step is crucial for ensuring a clean and residue-free finish. Press the fabric for a few seconds.
Step 7: Check the Result
Examine the shirt to see if the DTF ink is entirely removed. If there are any residual marks, consider applying the solution again and repeating the heat press step until you achieve the desired result.
Step 8: Precautions
Remember that the DTF-removing solution may have a strong scent and be toxic. It is advisable to wear a mask or work in a well-ventilated area to ensure safety.
Additional Tips
- Ventilation: As the solution may contain toxic components, it’s advisable to work in a well-ventilated area or wear a mask to protect yourself.
- Material Considerations: While the method works well on standard cotton shirts, it may not be suitable for all materials. The speaker advises against using it on materials like Lululemon stretch pants, which can result in bleach-like stains.
Does acetone remove DTF?
Yes, acetone can effectively remove DTF (Direct-to-Film) transfers. After saturating the area with acetone, gently scrape away the DTF transfer using your finger. The process is smooth; any remaining residue can be wiped off with additional acetone on a paper towel.
Conclusion
While removing DTF from shirts may require effort, it can save you time and money. The process outlined in this guide, using a reliable solution like VLR Alba Cam, has proven effective on 100% cotton shirts. Remember to exercise caution, especially regarding safety precautions, and feel free to experiment with the process on different materials while being aware of potential risks.
If you have further questions or concerns about removing DTF from shirts, don’t hesitate to ask for assistance.

“I like to turn a piece of string into something that I can wear.” I am dedicated to sharing knowledge on the necessary sewing equipment in The Sewing Stuffs.