
Last Updated on July 10, 2023
Binding strips are essential for finishing the edges of quilts or other sewing projects. This tutorial will guide you through the process of joining binding strips together to create a continuous strip. If you’re a sewing enthusiast looking to add a professional touch to your quilt or quilt project, learning how to sew binding strips together is an essential skill to master.
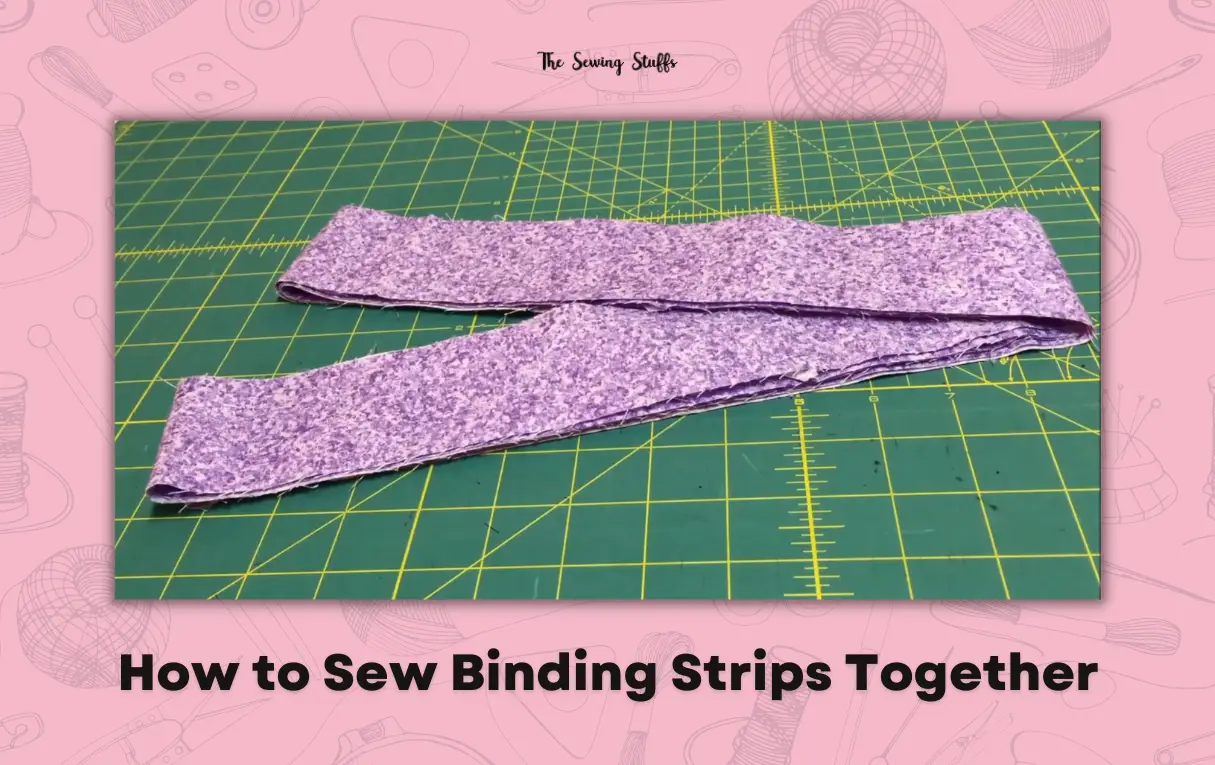
Binding strips finish the edges of a quilt, providing a clean and polished look. Here in this tutorial by TheSewingStuffs.com, we’ll guide you through the process of joining binding strips cut from quilt binding strips of the desired width.
How to Sew Binding Strips Together
Following these steps, you can connect your strips seamlessly and achieve a clean and professional look.
Materials Needed
- Fabric strips cut to the desired width (commonly two and a quarter or two and a half inches)
- Sewing machine
- Pins
- Marker
- Ruler
- Iron (optional)
Instructions
Whether you’re a beginner or an experienced sewer, these step-by-step instructions will help you create continuous binding strips with ease.
1. Cutting the Strips

- Cut your fabric strips to the desired width. Most people use either two and a quarter or two and a half inches.
- Cut the strips from selvage to selvage, ensuring they are long enough to cover the edges of your project.
2. Joining the Strips
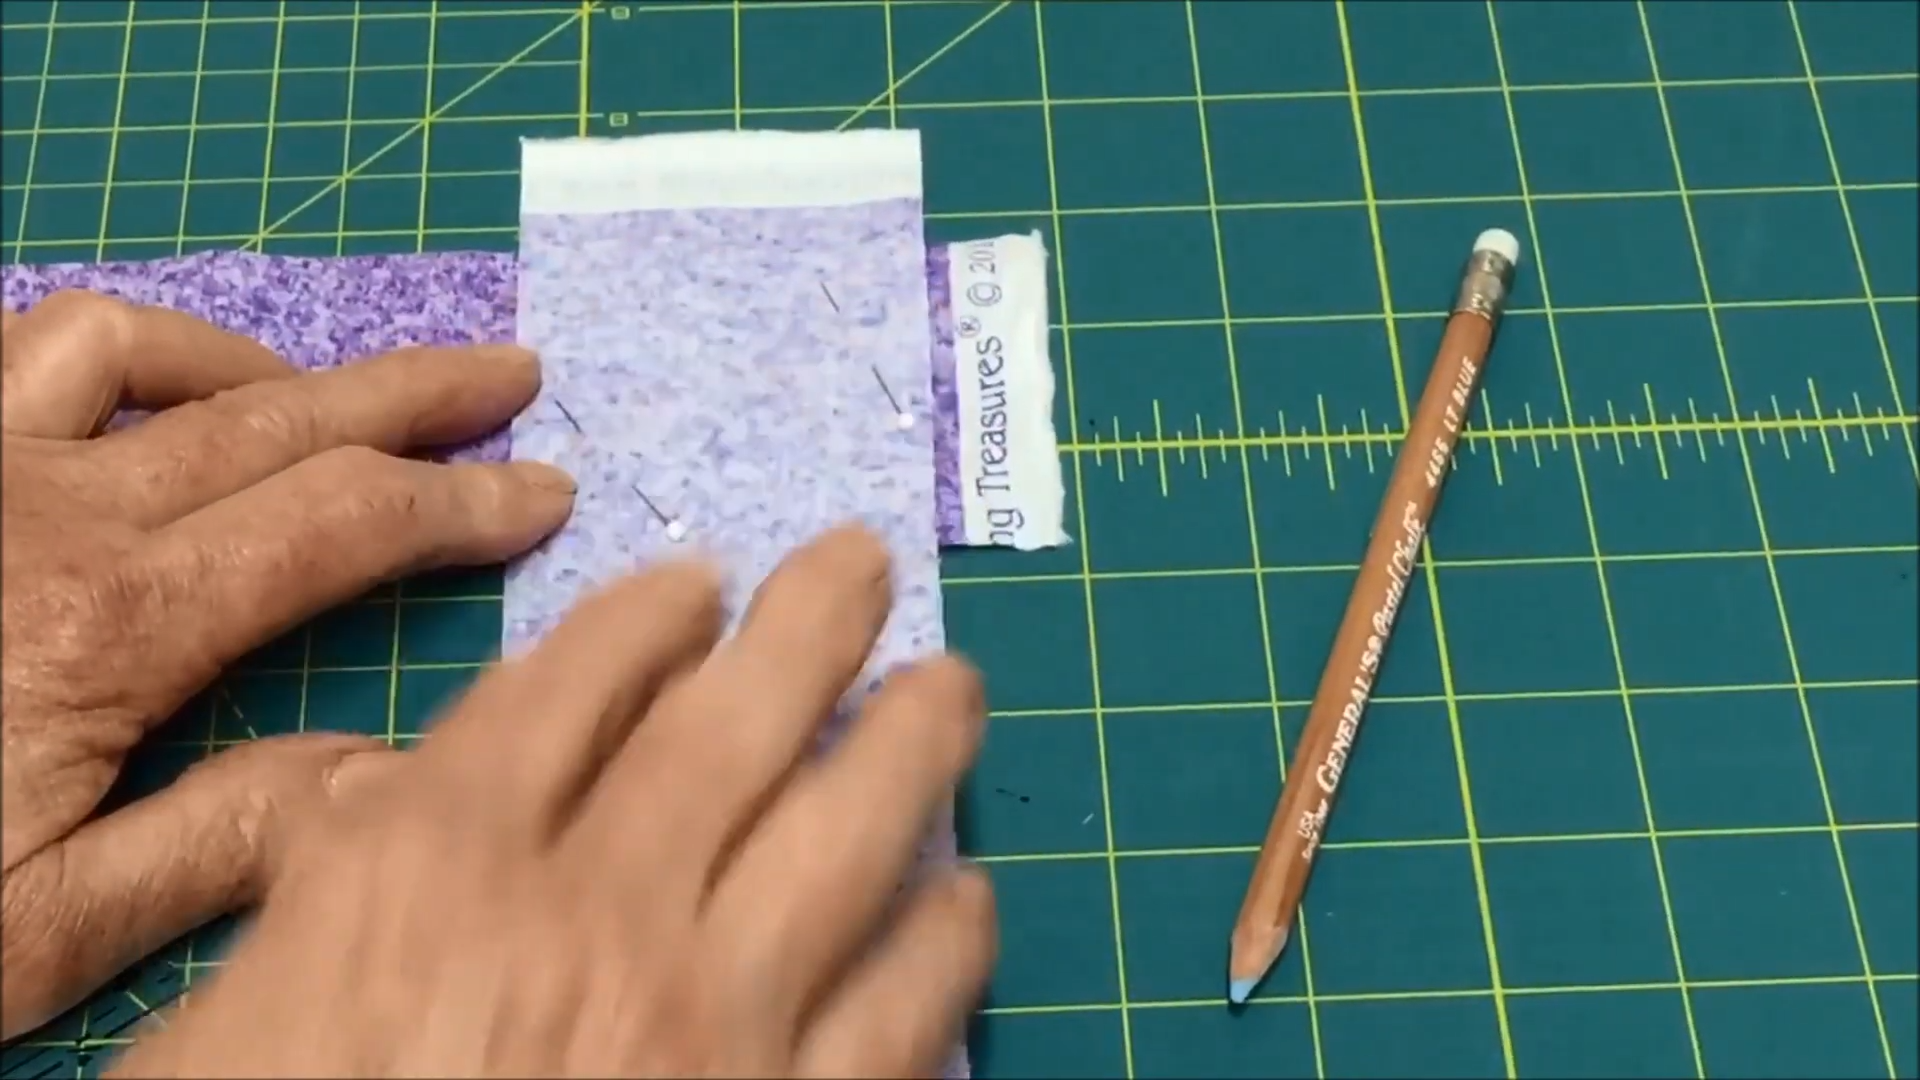
- Lay two strips with right sides together, forming a 90-degree angle.
- Some people prefer to cut off the selvage before joining the strips, but you can leave it on for now.
- Place a ruler diagonally across the two sides, from one corner to the opposite.
- Using a marker of your choice, draw a line along the ruler from one corner to the other.
- To prevent the fabric from shifting, place a couple of pins to hold it in place.
3. Sewing the Strips
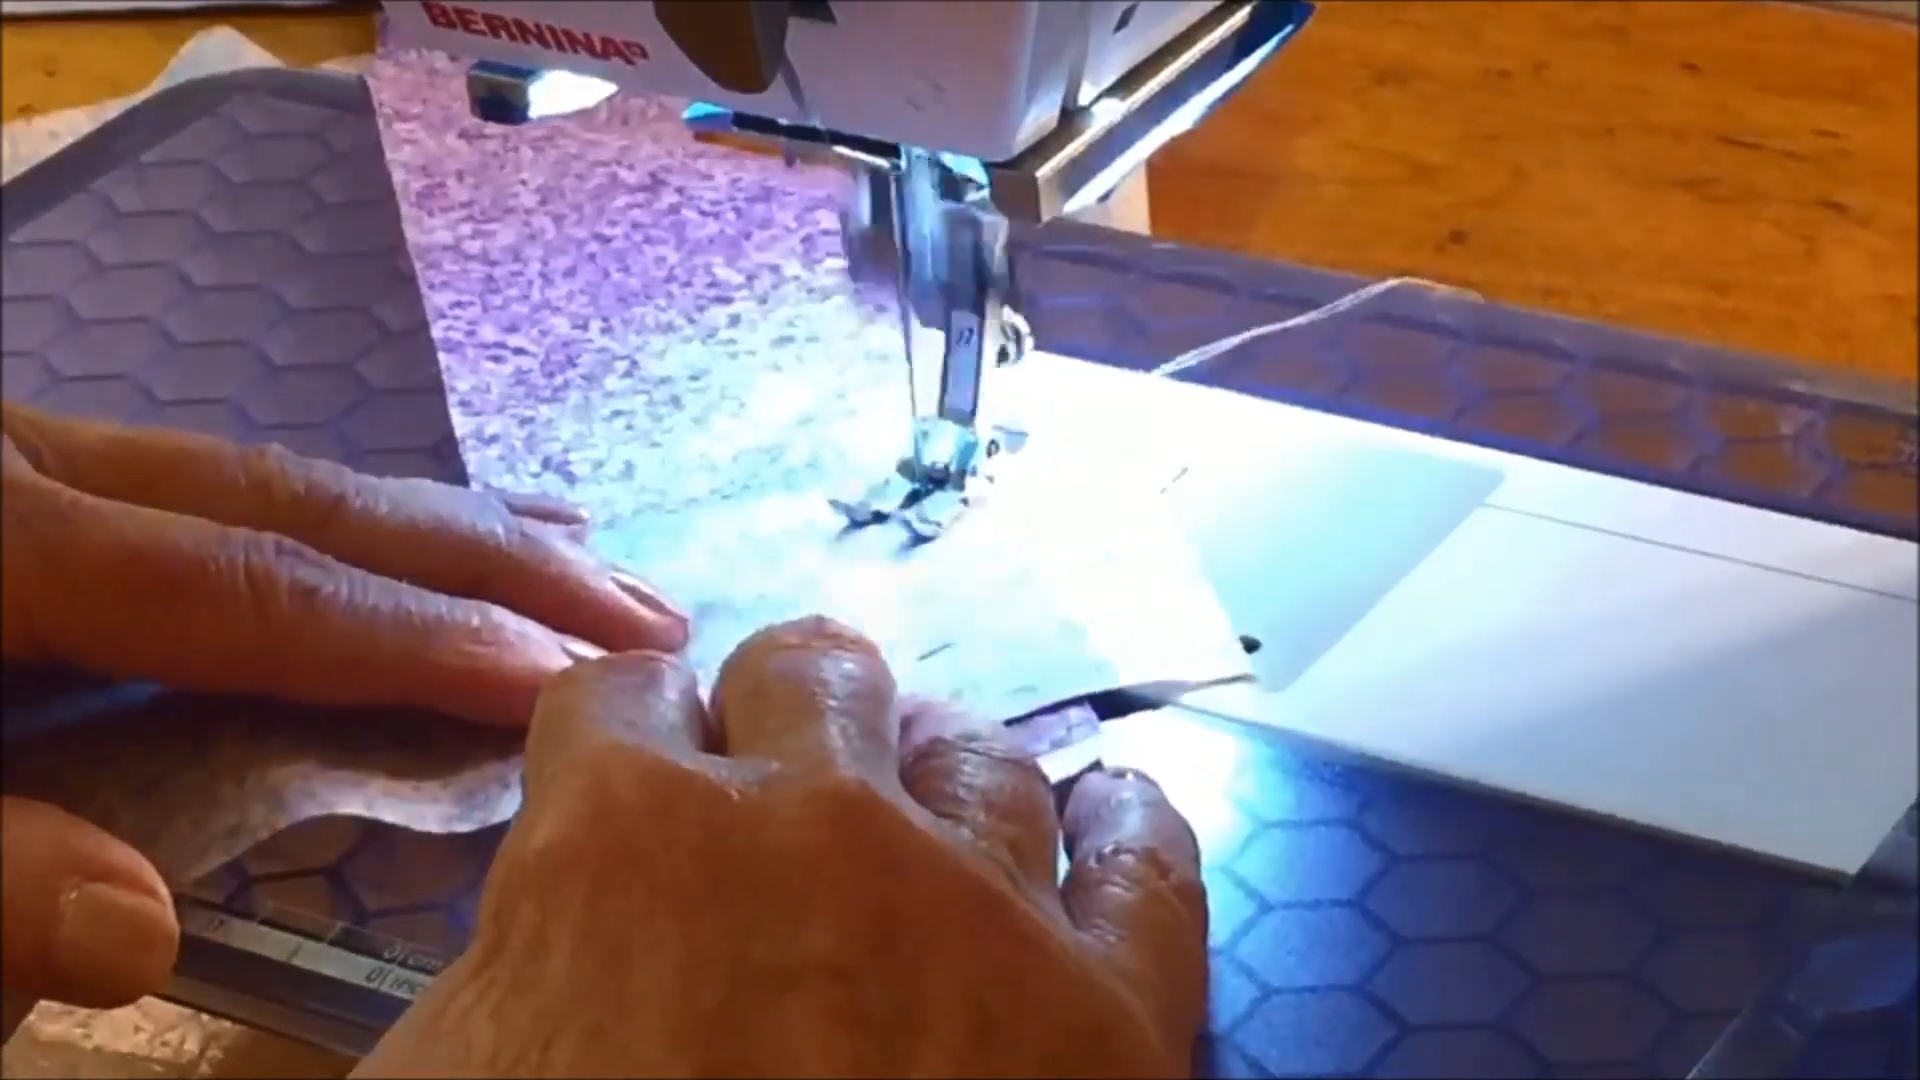
- Move to the sewing machine to begin sewing.
- Start stitching with a straight stitch right along the marked line. Remove the pins as you sew.
- Trim the excess fabric once you’ve sewn the entire line length, leaving a quarter-inch seam allowance.
- Press the seam open with an iron for a neater finish. Alternatively, you can finger-press it if you don’t have an iron available.
- Remove any small triangular fabric pieces, known as dog ears, that may have formed at the ends of the seam.
4. Continuing the Process
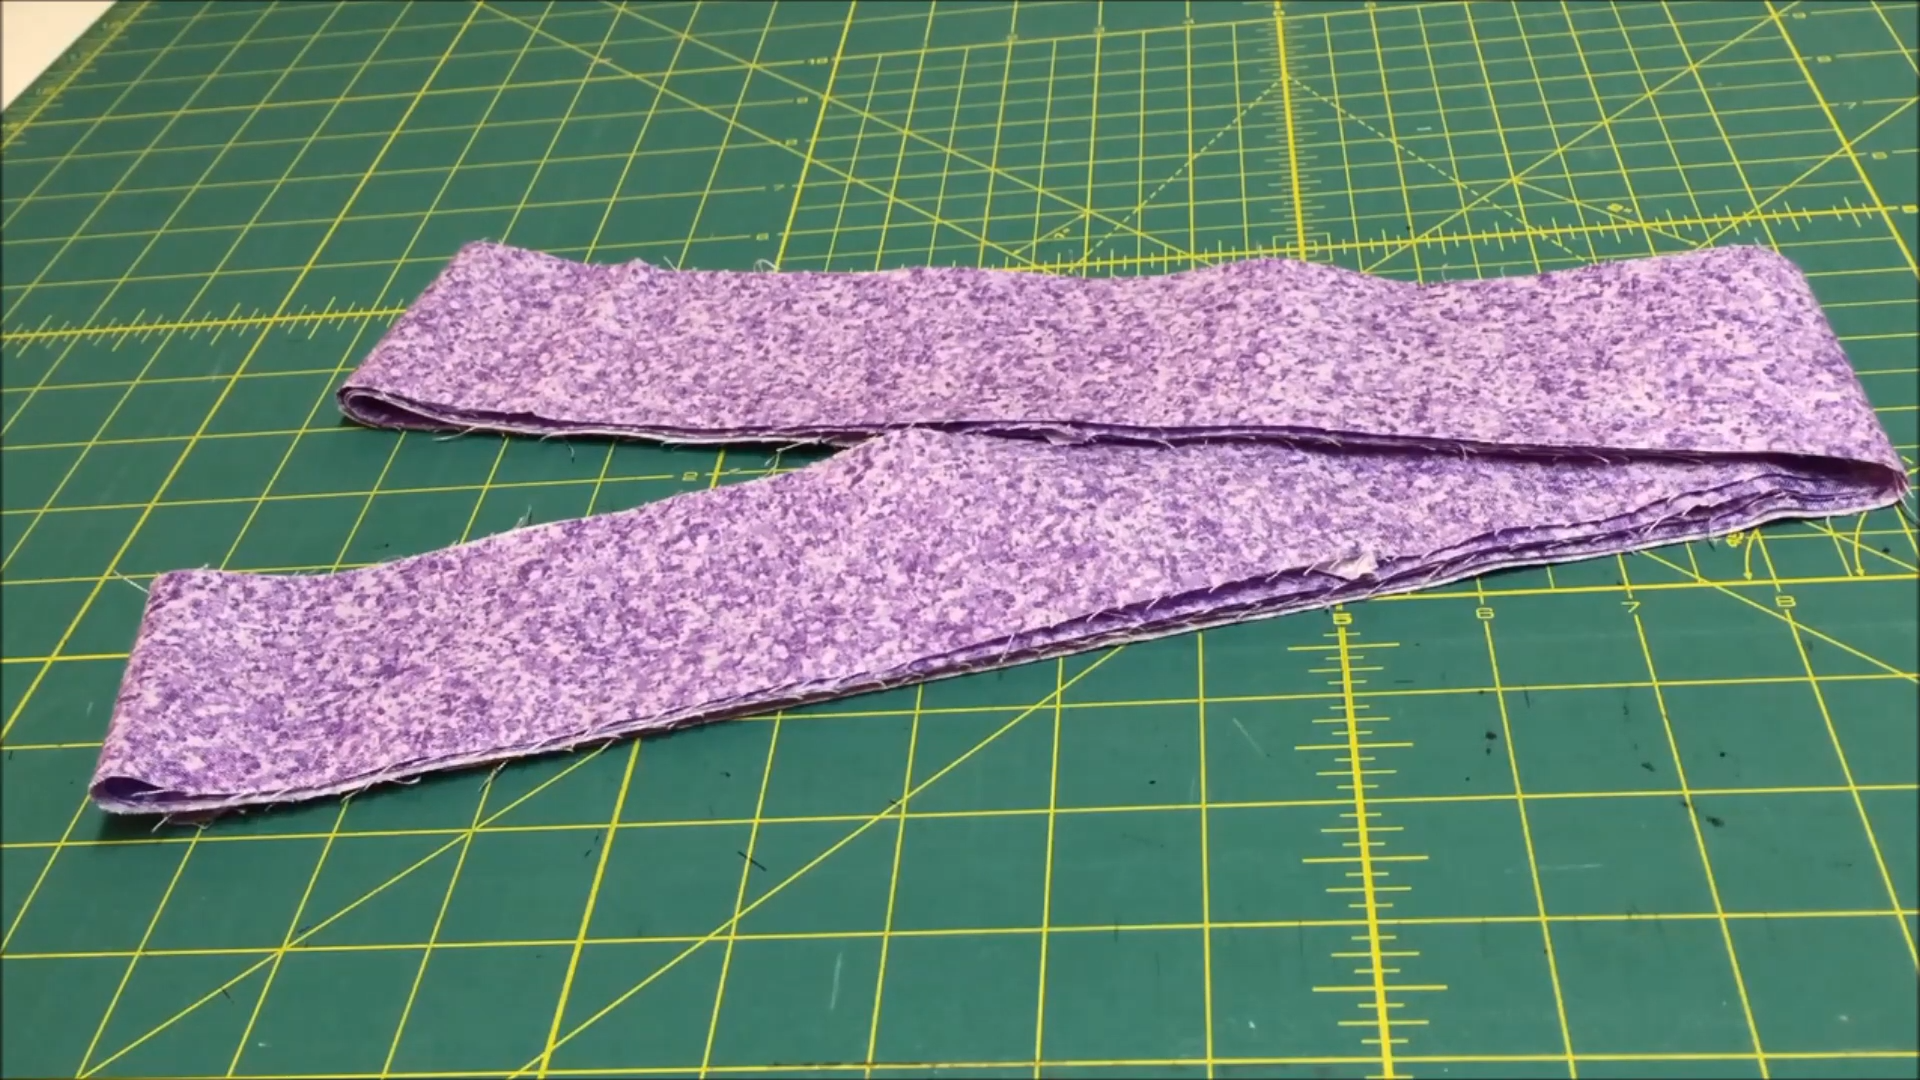
- The joined strips now form a continuous binding strip.
- Repeat the above steps to add more strips to your continuous strip, ensuring each new strip is added at a 90-degree angle.
- Keep joining strips until you have the desired length required for your quilt or project.
- Once you have finished joining the binding strips, you can attach the binding to your quilt or project as needed.
FAQ – People Also Ask
What is the recommended width for quilt binding strips?
The width of the strip is a personal choice, but most people use either two and a quarter or two and a half inches. You can adjust the width according to your preference and the thickness of the quilt.
How should I cut the binding strips?
It’s best to cut the strips from selvage to selvage. This means cutting across the fabric width-wise, from one selvage edge to the other. This ensures that the binding strips have a consistent stretch and won’t shrink or warp during the sewing process.
What is the desired method of joining the strips?
The desired method of joining the strips is with a diagonal seam. This type of seam is less conspicuous and creates a smooth transition between the strips.
Should I remove the selvage before joining the strips?
While some prefer to remove the selvage before joining, it’s unnecessary. You can leave the selvage intact and align the strips at a 90-degree angle to create the diagonal seam.
How do I sew the binding strips together?
Start by placing the strips with right sides together at a 90-degree angle. Draw a line from one corner to the opposite corner using a marker. Secure the fabric with pins to prevent shifting. Then, using a straight stitch, sew along the marked line. Trim the seam allowance to a quarter of an inch and press the seam open.
Can I add more strips if needed?
Absolutely! To make continuous binding strips, continue adding strips in the same manner until you have the desired length required for your quilt or quilt project. Sewing them diagonally will ensure a seamless and professional finish.
Conclusion
Mastering the art of joining binding strips will elevate your quilting and sewing projects to new heights. With the guidance provided in this tutorial, you can create continuous binding strips that give your quilts a polished and finished appearance.
Following these steps, you can join binding strips together easily and efficiently. Enjoy your sewing project and the beautiful finished result!

I Like to write and read on fashion, may be that’s why “Fashion says “me too” style says “only me”
